Table of Contents
ToggleImagine your phone ringing to the sweet sounds of your favorite jam instead of that generic tone everyone else has. It’s time to turn heads and make a statement with a custom ringtone that screams “you.” Whether it’s a catchy pop anthem or a nostalgic classic, setting a purchased song as your iPhone ringtone is easier than you might think.
Understanding Ringtones on iPhone
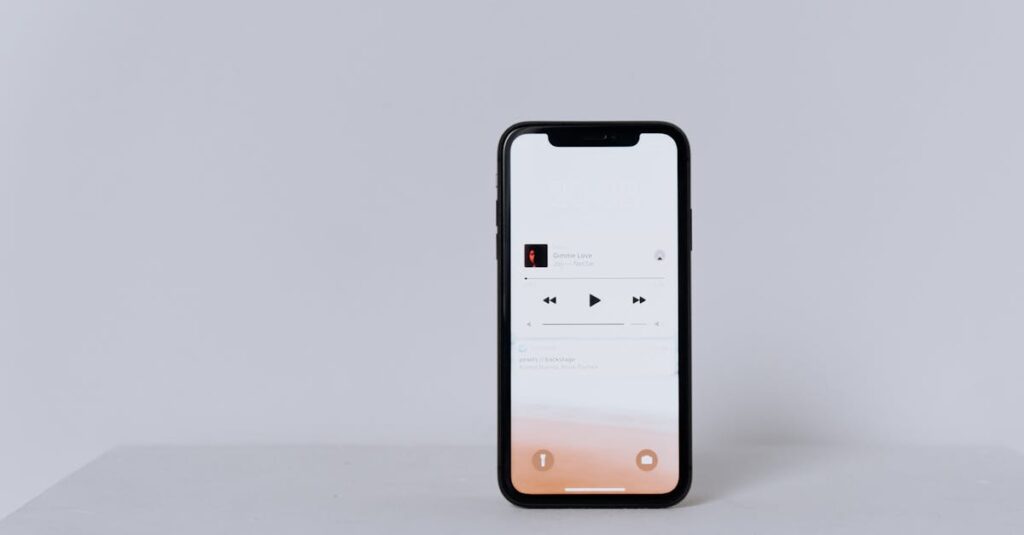
Ringtones on the iPhone serve as personalized audio alerts for incoming calls, messages, and other notifications. Customizing these sounds enhances individuality and fosters a unique user experience. Purchasing songs through platforms such as iTunes simplifies the process of creating a personalized ringtone.
Apple’s operating system limits ringtone length to 30 seconds, which allows for concise clips that still capture the essence of a song. The ability to set a purchased song as a ringtone transforms standard alerts into a musical expression of personal taste. Additionally, users can assign specific tones to different contacts, making it easier to identify who’s calling or messaging without looking at the screen.
Using iTunes or the Apple Music app facilitates quick conversion of a song into a ringtone format. Once purchased, it becomes easy to transfer the song from iTunes to the iPhone. Syncing ensures that the music functions as an alert tone ready for use at any moment. Identifying a preferred segment of the song further empowers users to create an impactful and recognizable ringtone.
When managing ringtones, users can navigate to the Settings app, select Sounds & Haptics, and choose Ringtone. This section presents a list of available ringtones, including those newly created from purchased songs. Customizing ringtones promotes an enjoyable, personalized interaction with the device, ultimately reflecting each user’s character.
Preparing Your Purchased Song
Preparing a purchased song for use as a ringtone requires a few straightforward steps. Users must first ensure the song is available on their device.
Confirming Purchase
Verify the song purchase by opening the iTunes Store app. Search the account section to find your purchased items. Ensure the song appears in the list of purchased music. If the song doesn’t display, check your Apple ID to confirm it’s associated with the purchase. Additionally, check for any download prompts to make sure the song is available for use.
Locating the Song in iTunes
Open iTunes to locate the purchased song. Click on “Music” in the Library section. Navigate to the “Purchased” tab to find recently acquired songs. Sort the list by artist or album for easier access. Highlight the song intended for the ringtone. Once selected, it becomes ready for the ringtone conversion process, ensuring the user can easily follow the next steps.
Setting Up Ringtone Using iTunes
Setting up a ringtone using iTunes offers a straightforward way to customize your iPhone with favorite songs. Follow these steps for an easy process.
Creating a Ringtone From Your Song
Locate the desired song in iTunes. Right-click it and select “Song Info.” Navigate to the “Options” tab to set the start and stop times, ensuring the segment is 30 seconds or less. After saving the changes, right-click the song again and choose “Create AAC Version.” A duplicate will appear in your library. Right-click the new version and select “Show in Finder” or “Show in Explorer” to find the file. Change the file extension from .m4a to .m4r, which is the ringtone format.
Syncing the Ringtone to Your iPhone
Connect your iPhone to your computer using a USB cable. Open iTunes and select the device icon. Go to the “Tones” section in the sidebar. Drag and drop the newly created ringtone into this area. Click “Sync” to transfer the ringtone to your iPhone. After syncing, go to Settings, then Sounds & Haptics, and tap on Ringtone to select the new tone.
Setting Your New Ringtone
Setting a new ringtone on your iPhone enhances personalization and lets users express their musical tastes. This process involves accessing sound settings and selecting the desired tone.
Accessing the Sound Settings
To access sound settings, users can open the Settings app on their iPhone. From there, they should scroll down and tap on “Sounds & Haptics.” Upon entering this section, they will find various sound options, such as ringtones, text tones, and alerts. Selecting “Ringtone” reveals a list of available tones. Users can now scroll through to see their downloaded ringtones, including the newly created one.
Choosing Your Ringtone
Choosing the ringtone is straightforward and allows for easy identification of incoming calls. Users can tap on their preferred ringtone to hear a preview. Once they find a suitable option, they must select it. This immediate feedback confirms the choice. Each selected ringtone typically plays a short segment representing the full sound, ensuring users select tunes they truly enjoy. By finalizing this choice, the personalized experience aligns with the user’s unique taste.
Customizing ringtones with purchased songs adds a personal touch to any iPhone. It not only enhances the user experience but also allows for a unique expression of musical taste. By following the straightforward steps outlined, anyone can easily set their favorite tracks as ringtones.
This process transforms the way users interact with their devices, making each notification feel more personal. With a little effort, it’s possible to create a distinctive audio signature that stands out. Embracing this customization can lead to a more enjoyable and personalized iPhone experience.